


My 1961 Ford Econoline Van
Project : Restore Classic Car
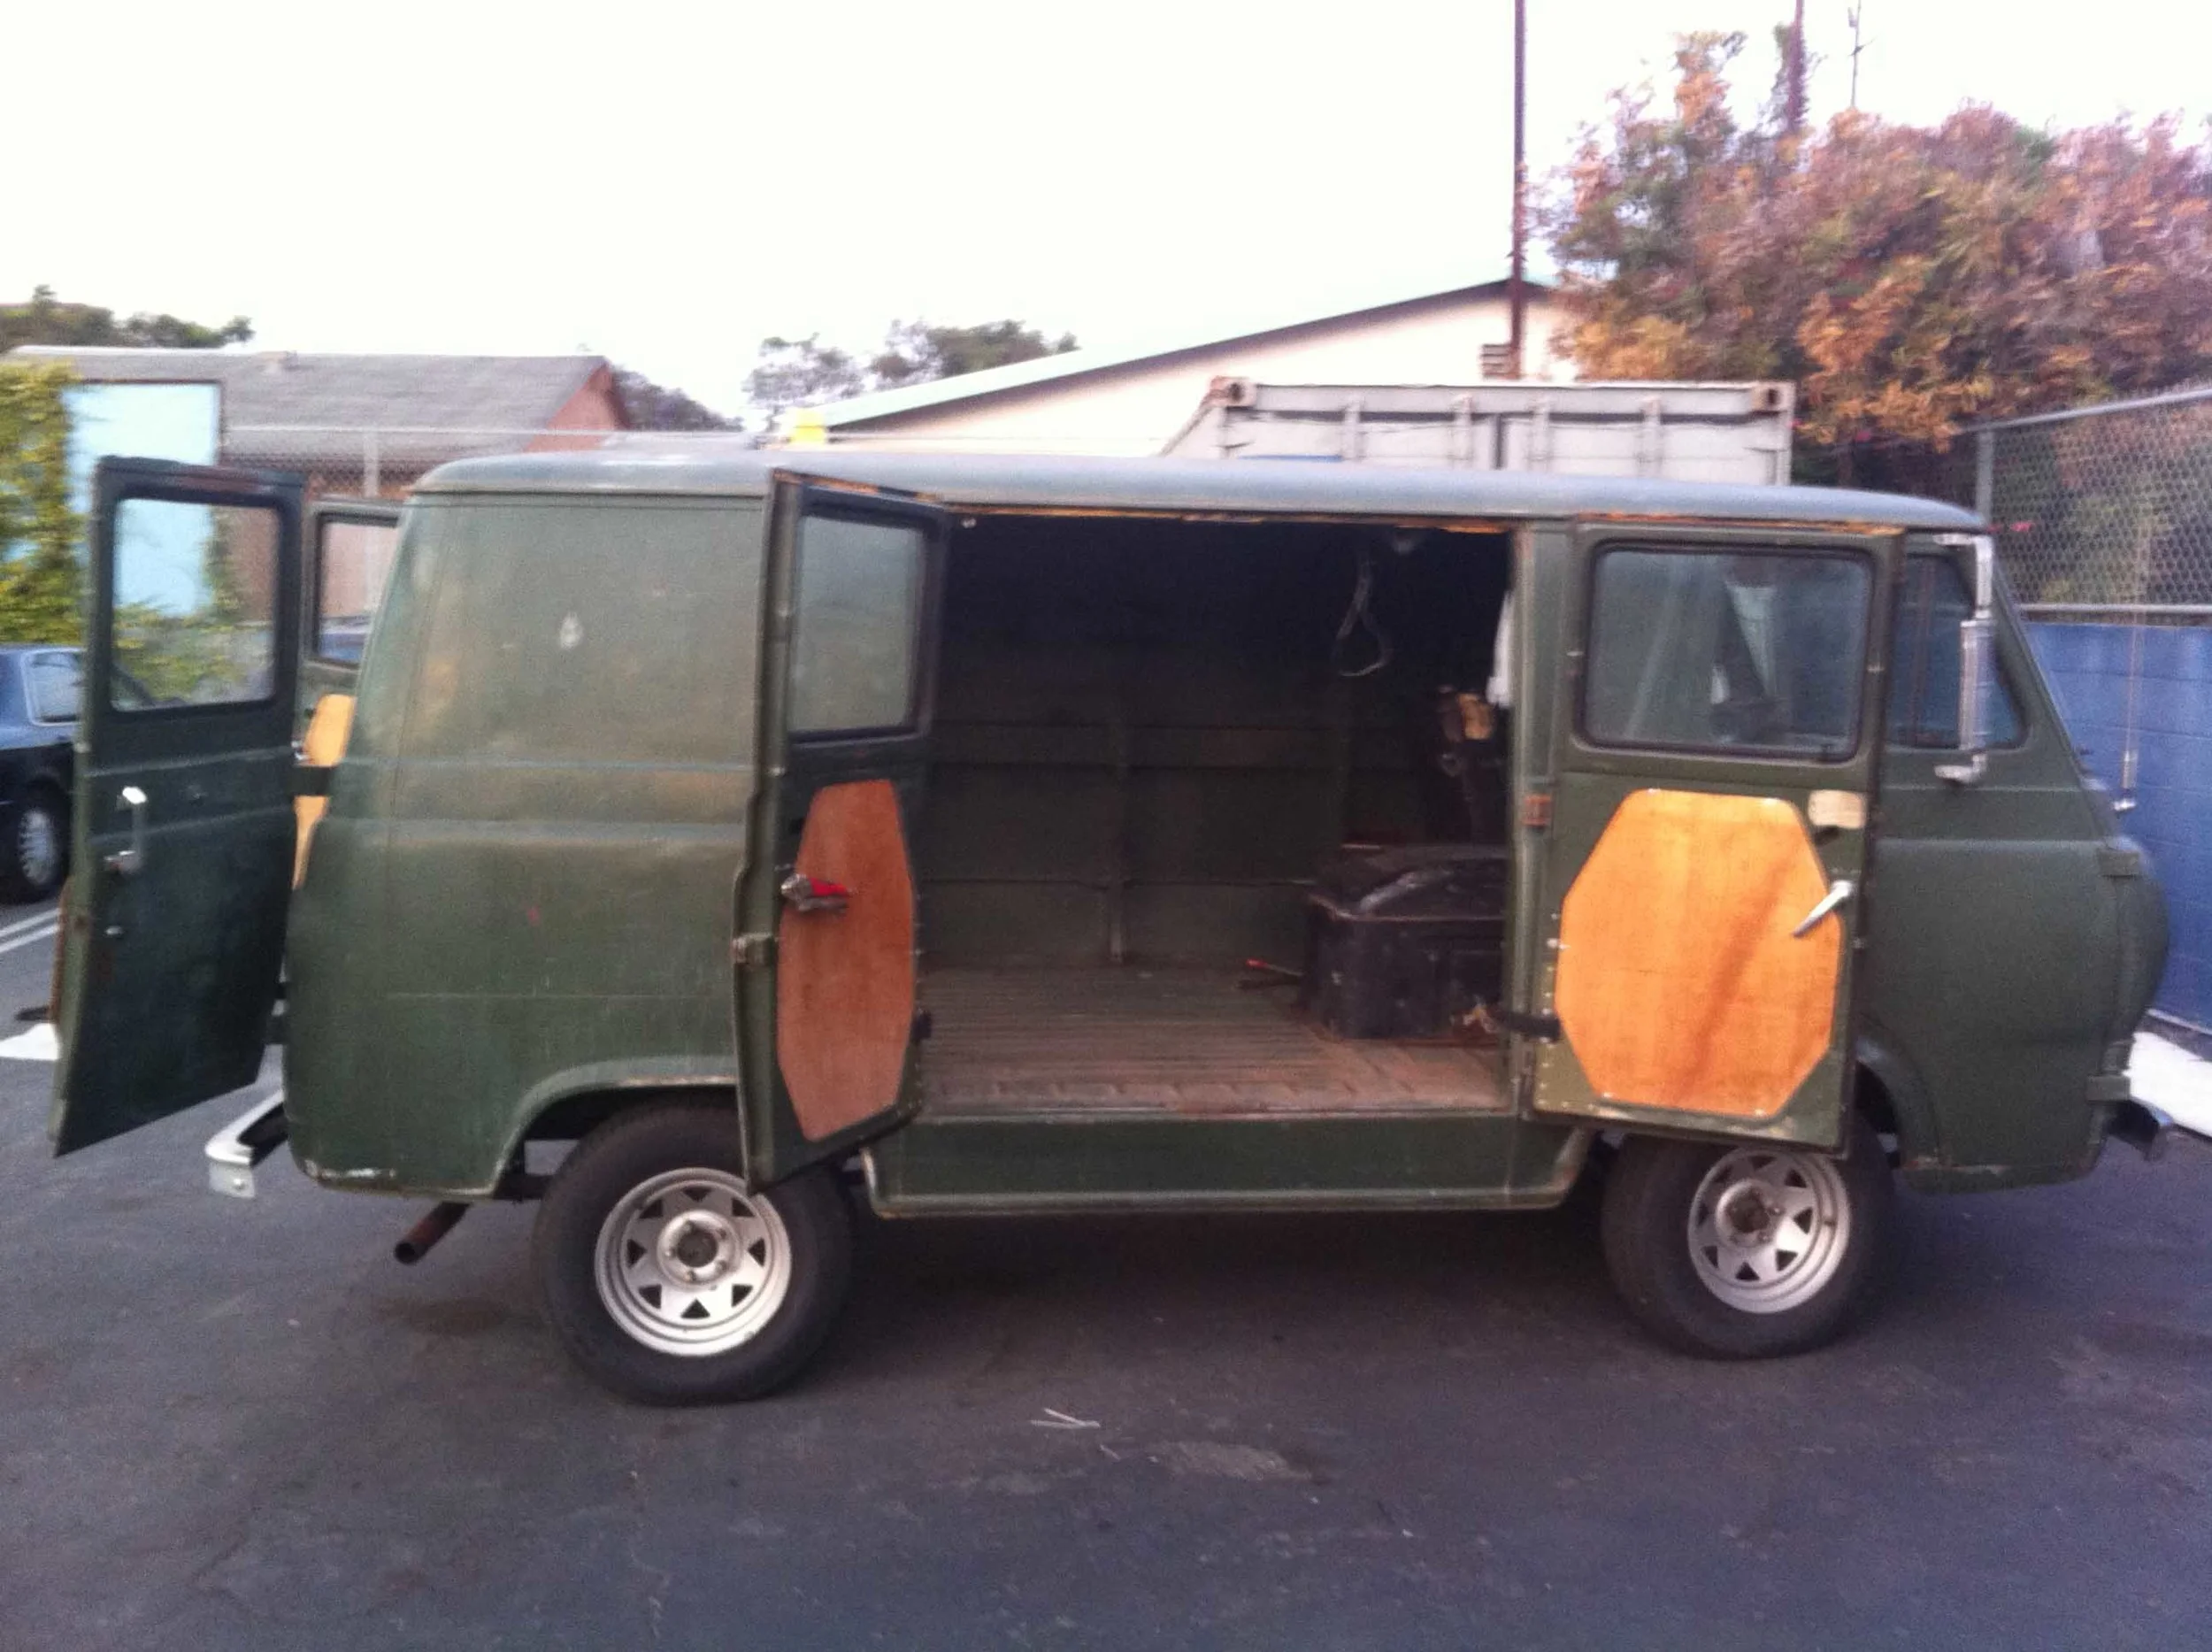
Description : Turning my old van into a brand new beauty was definitely my most favorite challenge. This van has seen some years, fifty-four of them to be exact, and I have had the pleasure of knowing her only for the last 4.. When I first met her in Oakland, she sat proudly, silent, and covered in dust. She was beautiful, deep,dark green, rusting in just the right places, gently kissed by time. Her age was timeless, but important only to show how far she has come, Such beauty was arresting, and further than skin deep. But how did she get here, sitting? So sad that her last love left her sleeping, waiting, wanting. I saw her eyes, so much life left. But what can I do? She's out of my league, I don't know a thing about old cars.
What do I say? Can I say I love you so soon?.... I better play it cool. Super Cool..... Hi, so, uhhhhh... wanna go for a ride? ........and the rest was history..
It as beautiful gift to be given this van, and a wonderful challenge. She barely ran, and she lived 300 miles away. I knew nothing of mechanics and cars, but I loved this fucking van. Slowly but surely I had things done to it, I think the guy who was the owner before me was an electrician. He might have passed away, I don't know, I never met him. I had to do a lien sale on the car because it was abandoned at my friend Estria's studio in Oakland. Luckily I was hooked up with Escape Campervans and was able to get their help hauling it down to Los Angeles.
I'd like to say I did a whole engine rebuild, but once we started tuning the engine, she ran decent, so only some parts were replaced. Luckily for me the previous owner had cared for her and her last registration was 2010. I think the engine is a 170ci Inline 6. It could be a 144, but the intake manifold is swapped with a 170 and it has a 2-barrel Carburetor instead of a 1-Barrel which was standard on the 1961 Ford Econoline Van with a 144ci Inline Six.
There I go talking about technical stuff. I know all this now of course, but when I got this, i just stared at it wondering what things did. Im no mechanic still. Truth is I'd always rather pay professionals to do what they do. But of course you know I fiddle. Anyway, more about the engine. Its about 80HP, 3 speed transmission (super fun), and goes about 55 mph tops.
So she ran, and not great but over time I replaced or machined, the intake manifold, carburetor, starter, put in an alternator, distributor, plugs, voltage regulator, and added a 12v fan for the radiator. These babies are amazing and keep me running at 190 degrees pretty consistently. The block is good, but at some point If I did have trouble I would just take the whole engine out and rebuild. For now whatever she is, runs great. Shout out to G-Man for always hooking up my mechanical needs.
One night she got tagged, damn graffiti! But I thought, well, she's in an alley and she's dark and dirty. Made sense, but annoying. I knew it was time to get the body work done. Escape was really helpful with this part of the plan because this is part of their business. I paint vans for them using spraypaint and they thought a good way for me to save money on the painting would be to spray it myself and then clear it. Thats what they do and the vans look great.
Big Wave Dave and I started ripping everything we could off of her. All the screws, lights, emblems, windows. A lot of things were in working order or just needed to be polished. That was another lucky break for my wallet. Pretty soon we were ready to sand and wire wheel the car and eliminate any rusty spots. That took some time.
Next was all about bondo. I never used that stuff before and man do i know how to use it now. It smells awful and fixes everything. Despite us being amatuers, I think we did a pretty good job with all the minor body work. Luckily once again not a lot of major dents. I had a mechanic friend of mine help out with the few major dents.Once we sanded the bondo down we applied a spray primer. Sanded and reapplied.
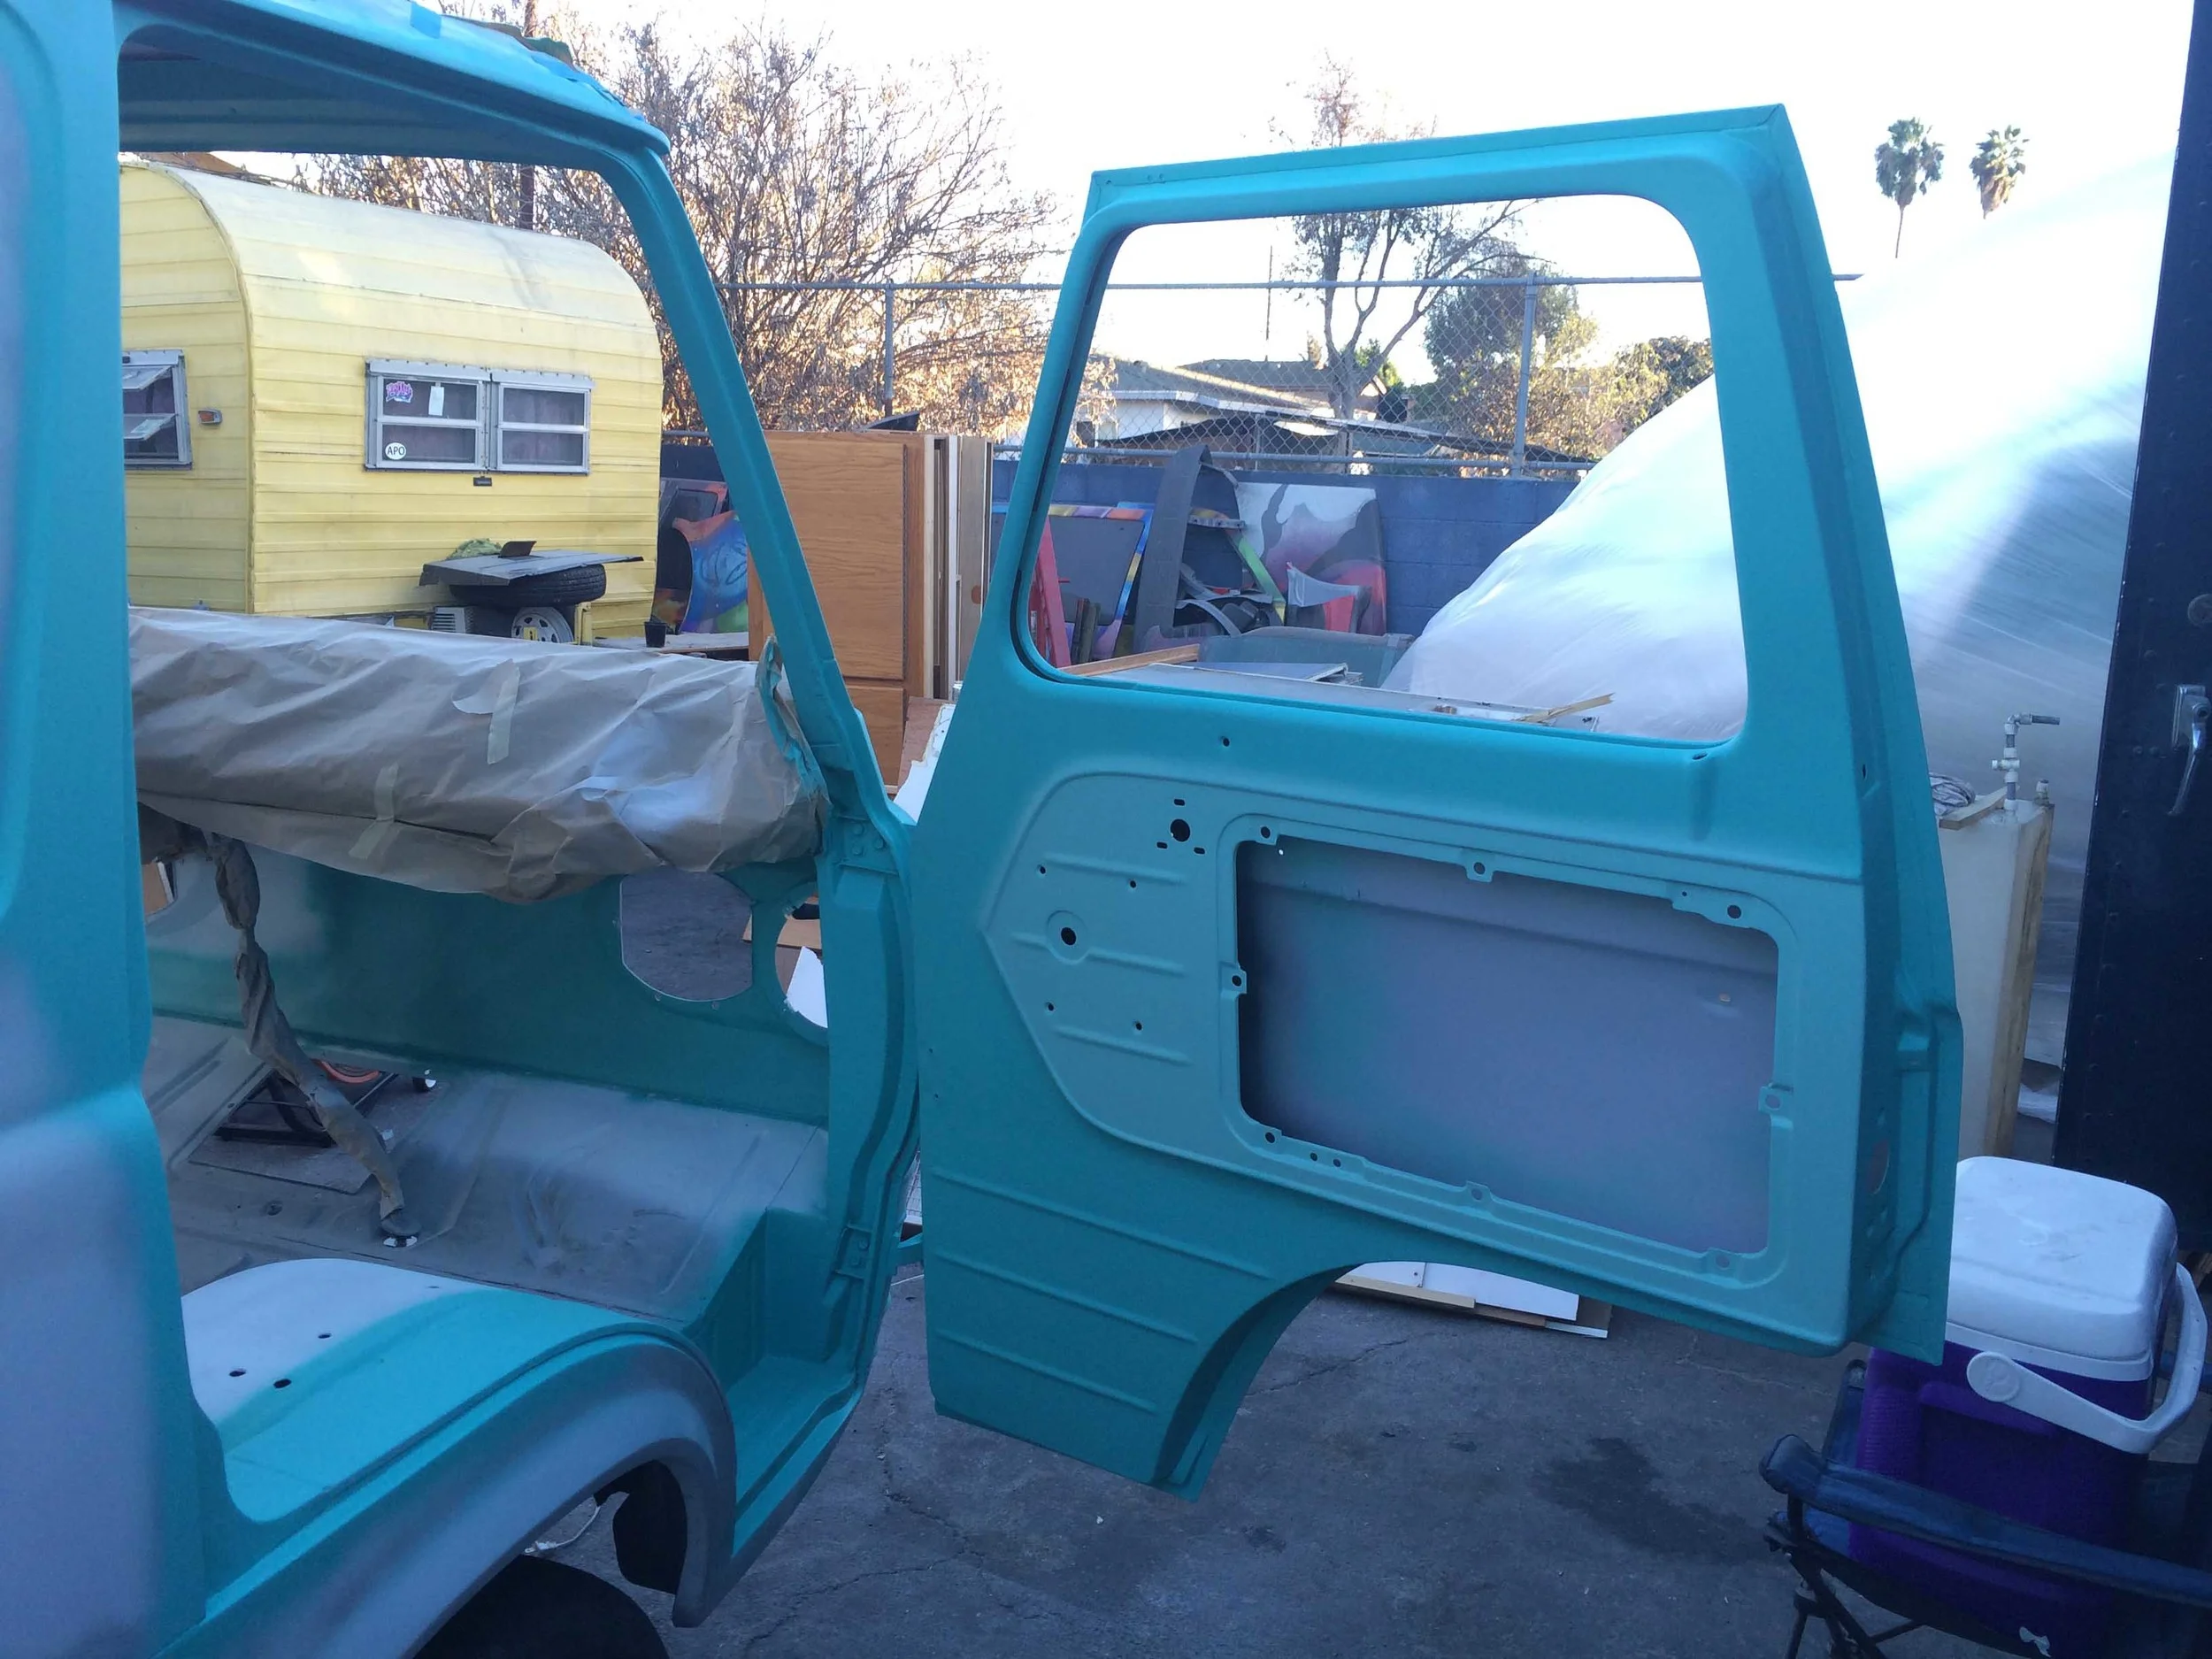
Then I painted it. I started at the roof and worked my way down. I used MTN brand 94 matte paint. Total of about 25 cans to do the car inside and out. The color is Bali Green with a two-tone scoop of Luminous Green. The roof is just plain white. I did some two toning on the inside as well. My overall goal here was just a bright, fun, classic surf van. I like simple,
Painting took about 2 days, then it was shipped to clear. After the clear I was floored at how nice she looked. Seeing the van glossy was pretty unbelievable. It was like a different car.
We took the van back to my studio and she lived there for the next month while we got everything back on. This was the toughest part of the whole process I must say. And the sanding actually was really hard. ugh. But the putting stuff back, and putting in new stuff, like window rubbers. And the bumpers for the doors, those are brutal, with this sticky adhesive gorilla snot stuff and it gets everywhere. And all the while you have to make sure you don't scratch, dent, ding or spill anything on your nice new paintjob. Needless to say we screwed up, on this or that, definitely scratched, and was frustrated. But when it all comes together, there is nothing like it. Its like putting together a giant model kit.
Its been an amazing journey every step of the way with this van. I know there will always be more to do, add, change, but she will always be perfect to me just the way she was the day I met her. She's just smiling a little brighter now, because she' got a guy who loves her now, and treats her right.
Big thank you to the following:
Estria Miyashiro for letting me have the van
Chalk Boys for helping support the van
Escape Campervans Shawn, Rob, and BigWave Dave for helping me get her cleaned up
Joel for helping me fiddle with the engine and hanging out while we listen to classic rock
Gonzalo at G-Man auto for fixing it after I fiddle and for hooking me up
Henry Ford for making such an amazing automobile.